
Coloring Artwork in Illustrator Using Live Paint
The introduction of Live Paint in Adobe Illustrator CS2 revolutionized the way we color and even draw our artwork. How you ask? In every version of Illustrator prior to CS2, it was extremely difficult (or impossible) to add color to objects that weren’t closed shapes. The illustrator had to carefully plan out their design and how it would be carried out, so that color could be applied correctly.
In Image 1 below, I will illustrate a very simple example that demonstrates how Live Paint works and the basic concept behind this amazing tool. The image shows 3 squares—I positioned them in such a way that they created a triangle. However, I did not create the triangle using any of the tools in Illustrator (shape tool, pen tool, etc…) and therefore it is not a closed shape. If I were to pull apart the square boxes, the triangle would disappear.
But what if I want to color that “triangle” without using any of the Illustrator tools to draw the triangle. It’s just an empty space…I can’t add color to an empty space, can I? This is where the magic of Live Paint happens.
Step 1: I want to select all 3 squares and click on Live Paint Bucket. This will create a Live Paint Group. In CS3, Adobe updated Live Paint to let you select colors from your Swatches panel without moving away from your drawing. I simply arrow through my swatch selection on my artboard (see image below).
Live Paint, Image 1

Step 2: I hover over the triangle with my Live Paint Bucket and it’s now highlighted. I arrow through the swatches until I find the right color, and then I click. Done. I just added a color to an empty space!
Live Paint, Image 2

In Image 3 below, I will take Live Paint one step further. I will color areas that were created by overlapping a series of lines—no closed shapes. In addition, you will notice some of these lines do not touch or overlap. Does Live Paint still color areas with gaps? Let’s find out!
Live Paint, Image 3
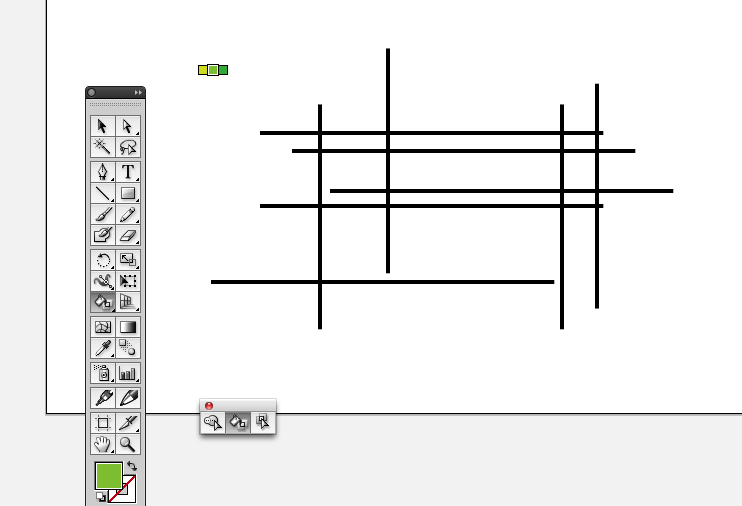
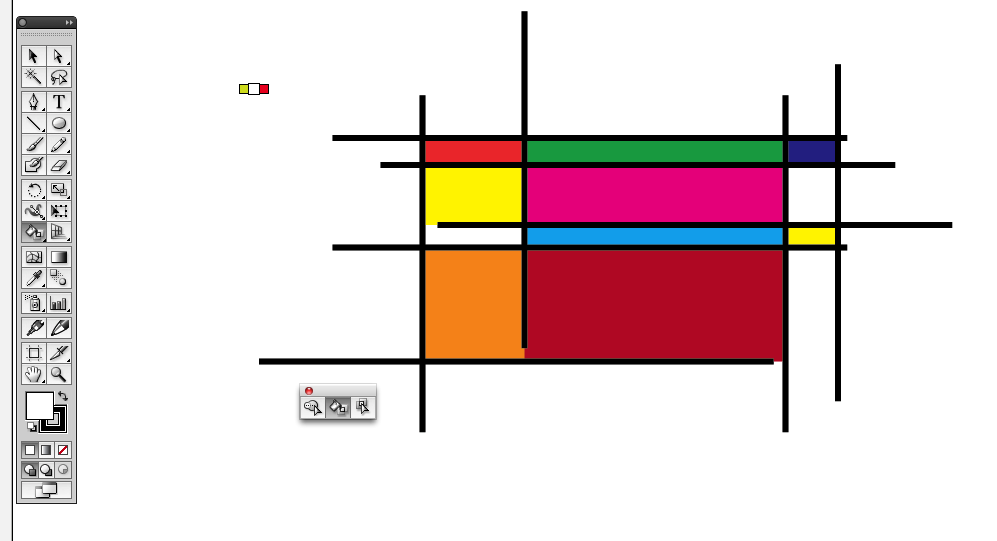
Again, I selected the series of lines and created a Live Paint Group. I hover over areas in the group and change the color by arrowing through my swatches. Notice that I filled in areas despite the gap between lines. If Illustrator doesn’t allow you to fill an area with a gap, adjust your gap options under Objects > Live Paint > Gap Options.
Live Paint, Image 4
Learn more about Live Paint and the other tools Illustrator has to offer in one of our Adobe Illustrator CS6 Classes.