The release of Photoshop CS5 was an exciting time—CS5 brought about many BIG changes to this program. The most popular updates included the Content-Aware Fill, Refine Edge enhancements, the Mixer Brushes and the Puppet Warp tool. This particular post will focus on using the new Puppet Warp tool in Photoshop CS5.
Puppet Warp is a new tool in transforming objects, but in a way that you never could before…and it’s so easy!
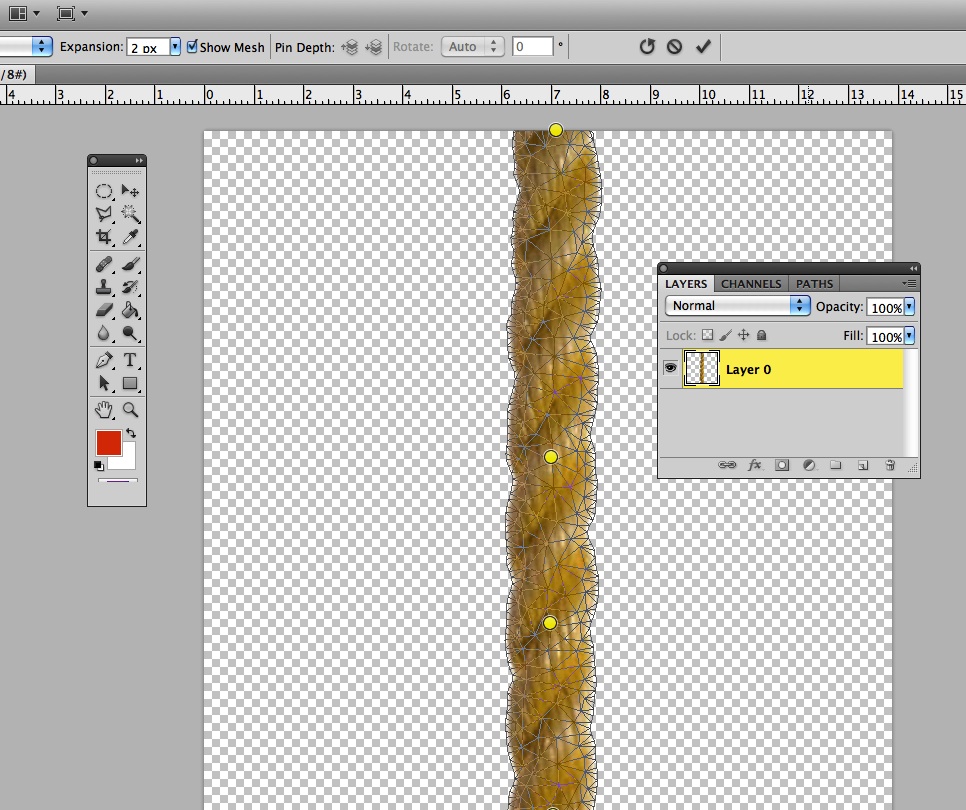
Step 1: Isolate the object you want to transform—you need to be able to select it. For example, the rope image below was on a white background and I removed the white background so I could select just the rope. The checkered background indicates the rope is on a transparent background.
Step 2: Select the layer/object you want to transform and choose Edit > Puppet Warp
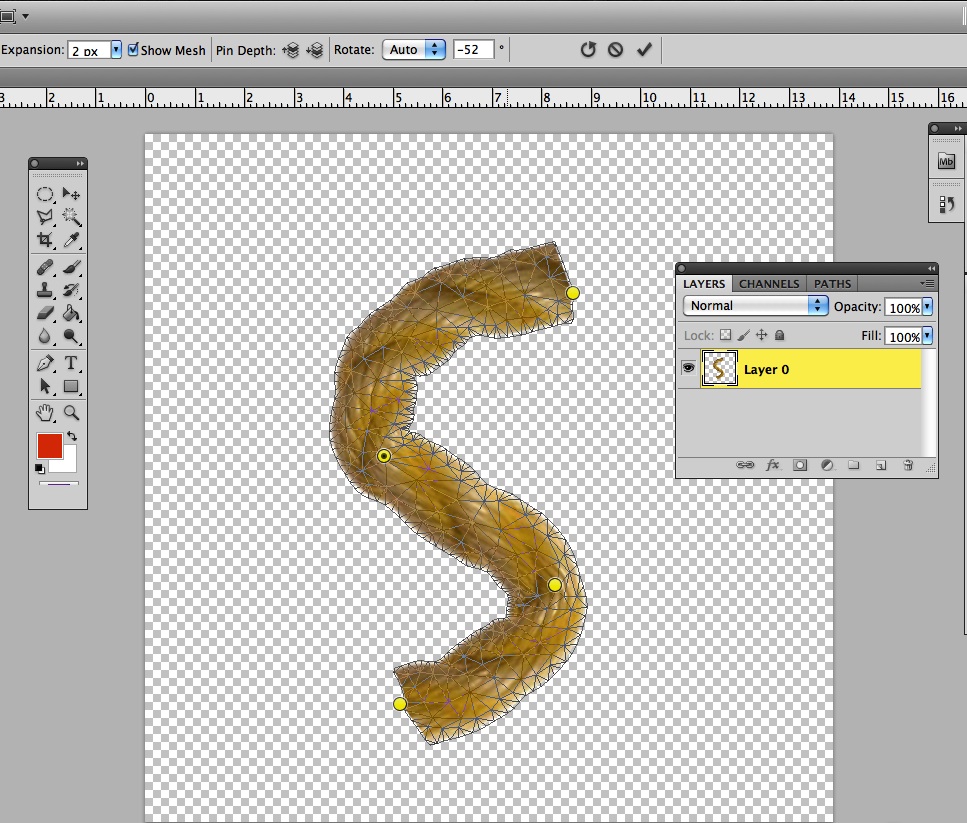
Step 3: In the last step you added a mesh over your selection. Now you can click and add pins on that mesh. These pins become points in which your object can move (like a puppet!). You can also use the pins in areas you want to anchor in place.
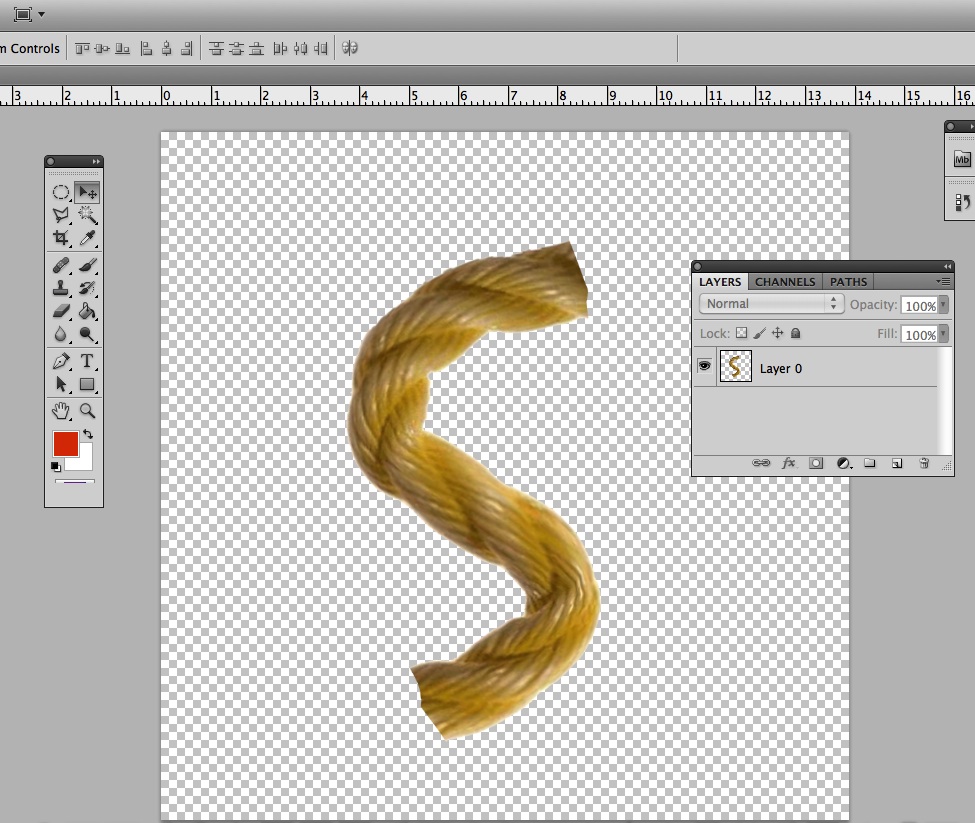
Step 4: Drag the pins to warp the mesh and transform your object (see rope below). Press return to apply the transformation and you are done!
[message type=”simple”]Interested in learning more about Puppet Warp and the other great features in Photoshop? We offer small, hands-on Photoshop classes, taught by expert instructors. We teach from experience—not from a manual.[/message]


